Skip to content
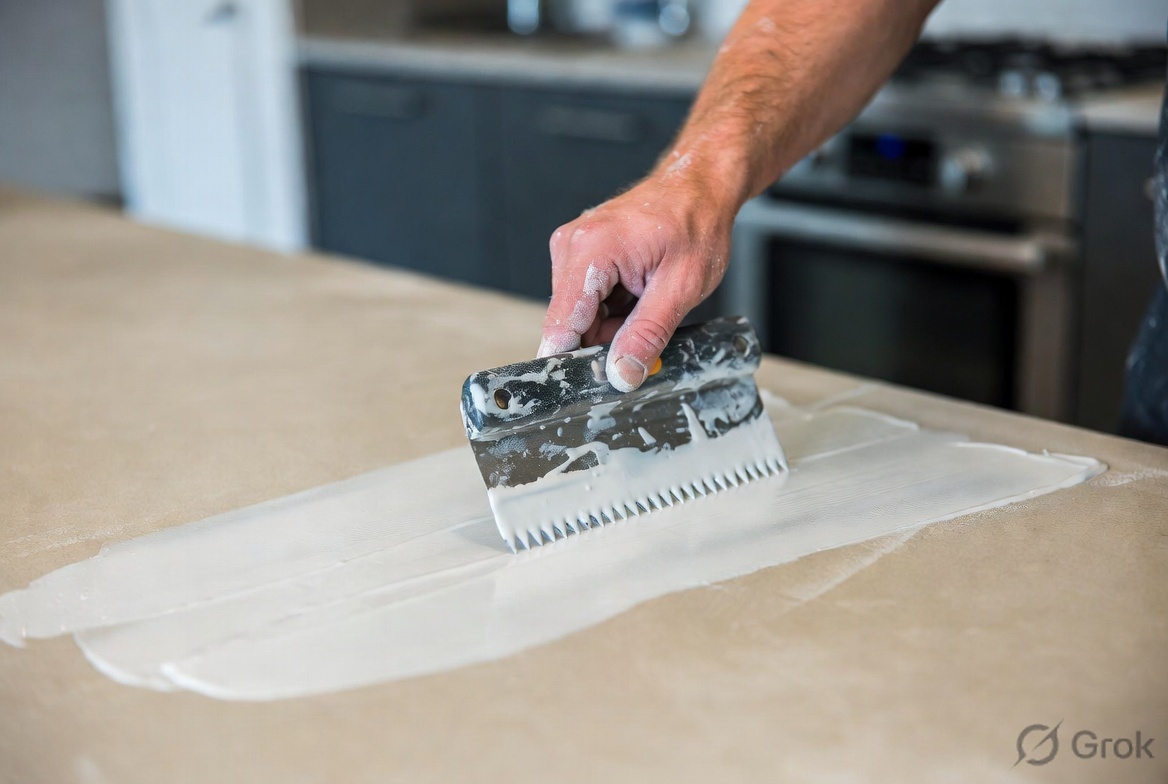
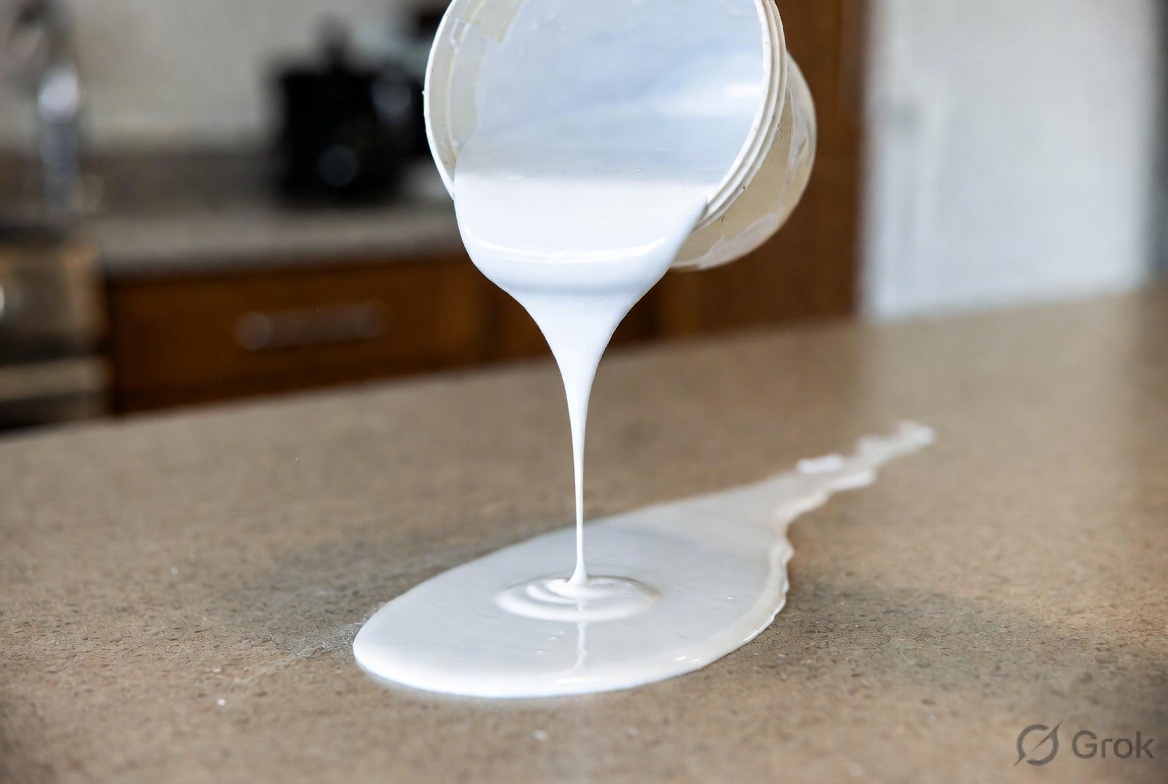
Spreading a white epoxy flood coat with a notched trowel

The work

Preparation is the skill. The pour is the evidence.

Degrease, key, mask, seal, flood. The same sequence on a Subiaco galley, a Cottesloe vanity, a Fremantle servery.

The epoxy pour

A seal, then a flood. Chemistry, not luck.

Countertop epoxy is a two-part thermoset. Mixed 1:1 or 2:1, it self-levels, takes the edge, and cures into a continuous skin about two millimetres thick. We never pour a single thick coat onto raw laminate — that is how you get bubbles, fish-eyes and a recut.

01

Seal coat

A thin first coat locks the old laminate so it cannot out-gas into the flood. This is the unglamorous step that separates a specified pour from a craft-kit disaster. It goes on once the board is degreased and keyed, and we wait until it is tacky.

02

Flood coat

2–2.5 mm of self-levelling countertop epoxy, seated with a notched trowel, then left to find its own level. Enough body to read as a new surface — not a paint film — and to wrap the profile you already have.

03

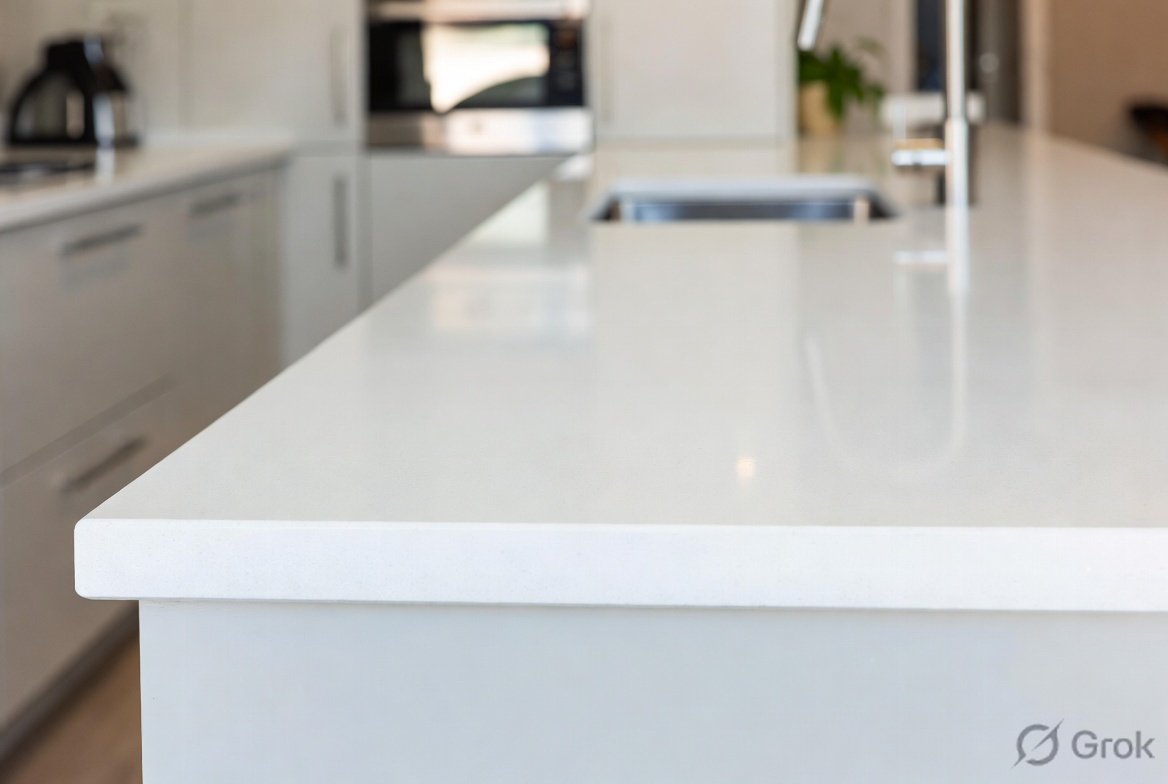
The wrap

Gravity takes the resin over the edge — rolled bullnose, pencil-round, square or breakfast-bar overhang — so the deck and the face cure as one piece. No mitered stone apron. No drip-edge left showing.

04

Cure

Touch-dry in hours. Light use the next morning. Full hardness, heat and chemical resistance over several days. We return to de-nib drips and, if you specified it, add a thin second top coat for depth.

Step 01

Consult & measure

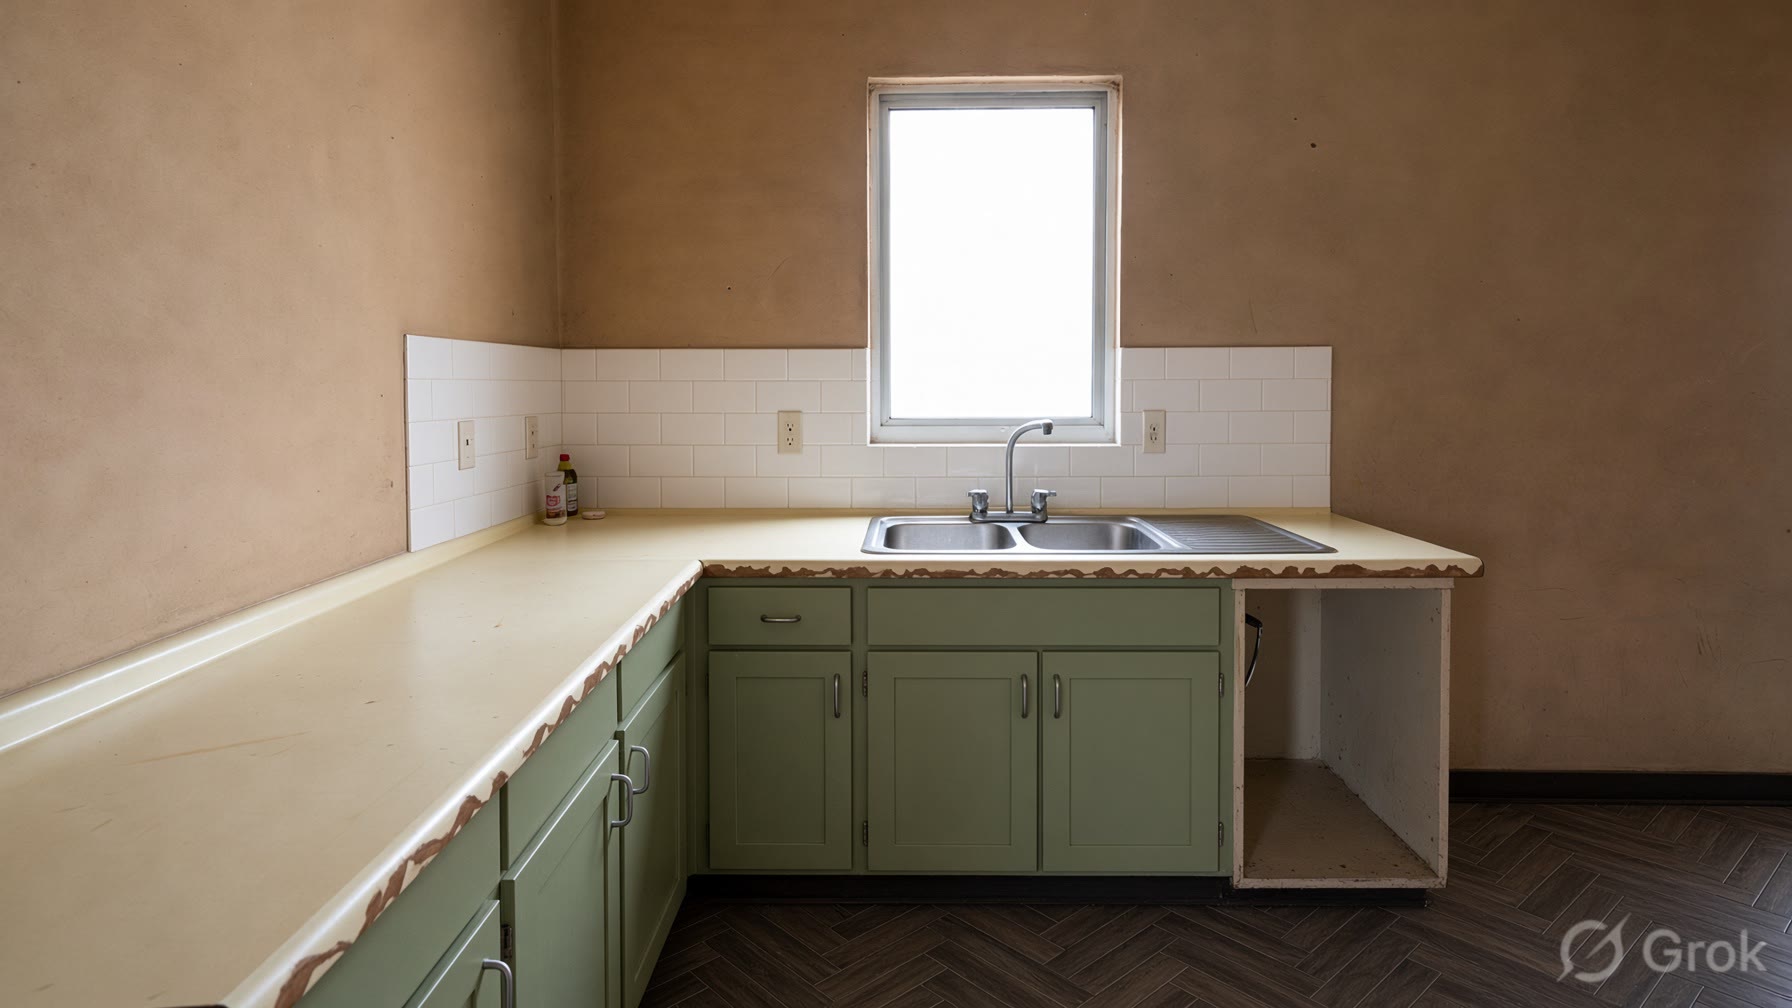
We walk the kitchen — or the vanity, laundry, pantry — and check the substrate is sound. We measure every run, the edge profile, sink and hob cut-outs. You pick a finish from samples. Cabinets, splashbacks, plumbing and appliances stay put.

Step 02

Degrease

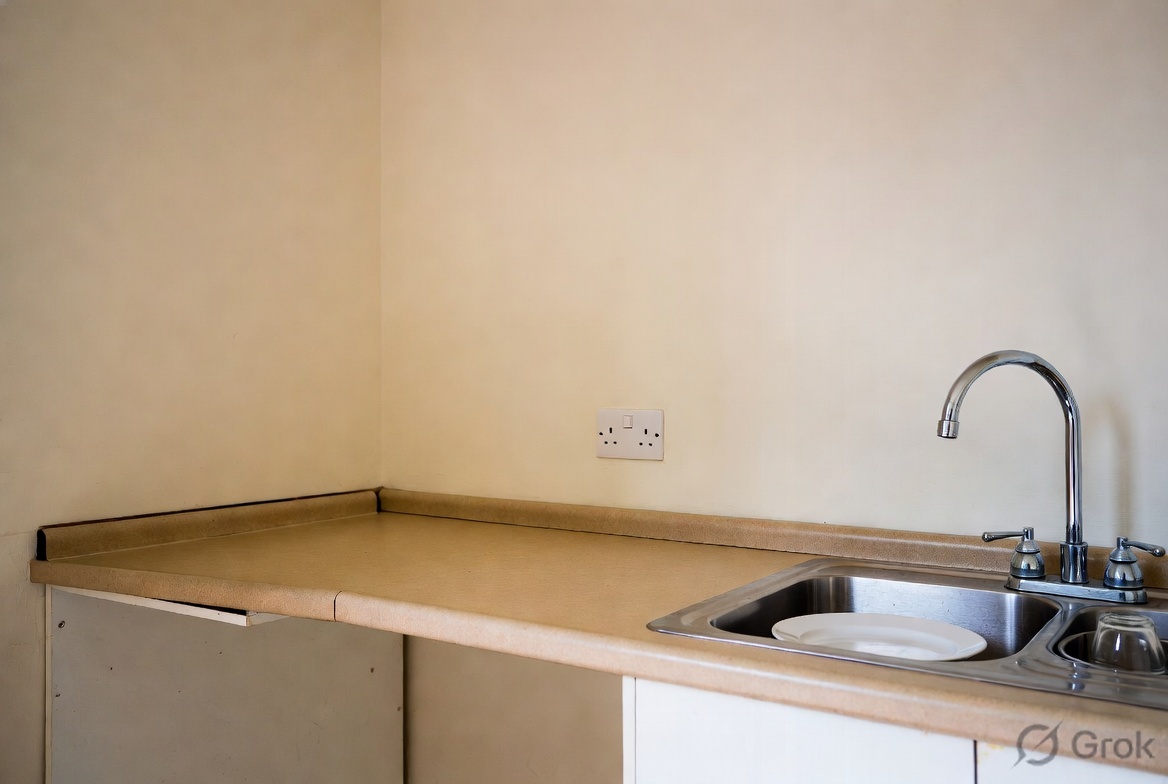
Kitchen grease is the silent killer of coatings. We strip oil around the hob and sink with a proper degreaser (Sugar Soap or equivalent), not a wipe of spray-and-wipe. Anything left behind will fish-eye or peel.

Step 03

Key the surface

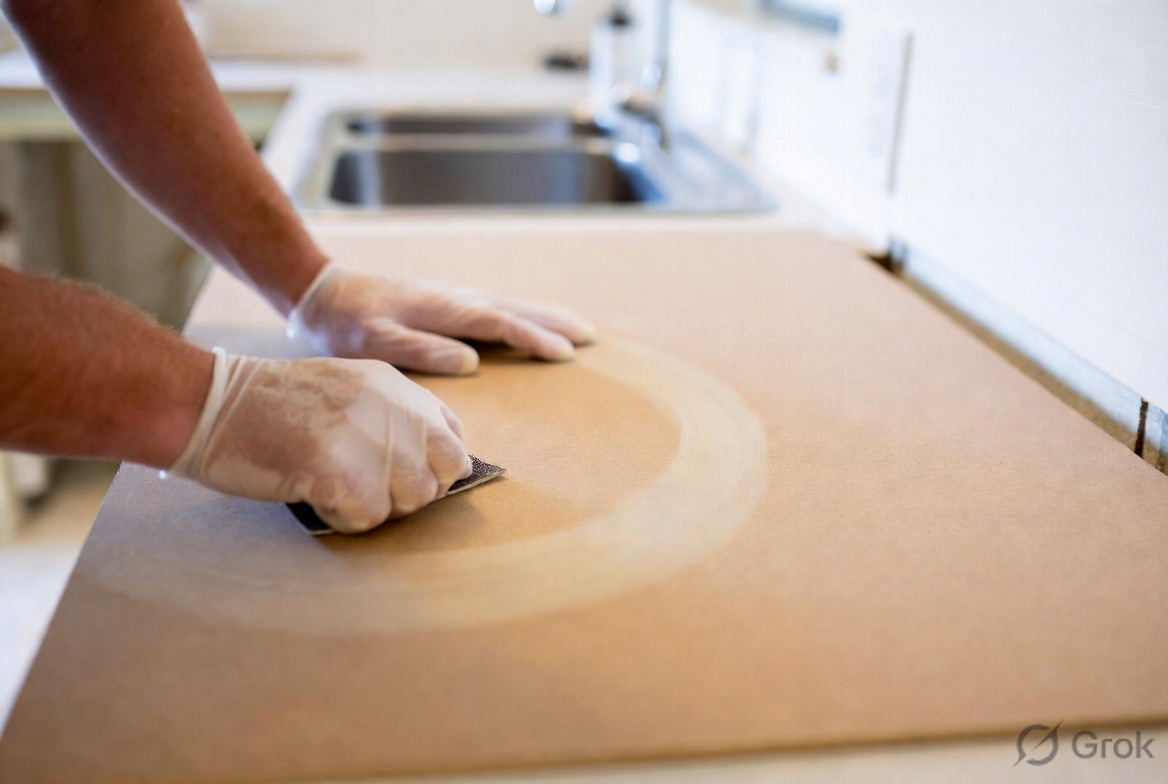
Light sand with 240–400 grit so the resin has a mechanical key. Rolled, square or breakfast-bar edges stay in place — they become the mould for the flood coat, unless you have asked for a built-up square.

Step 04

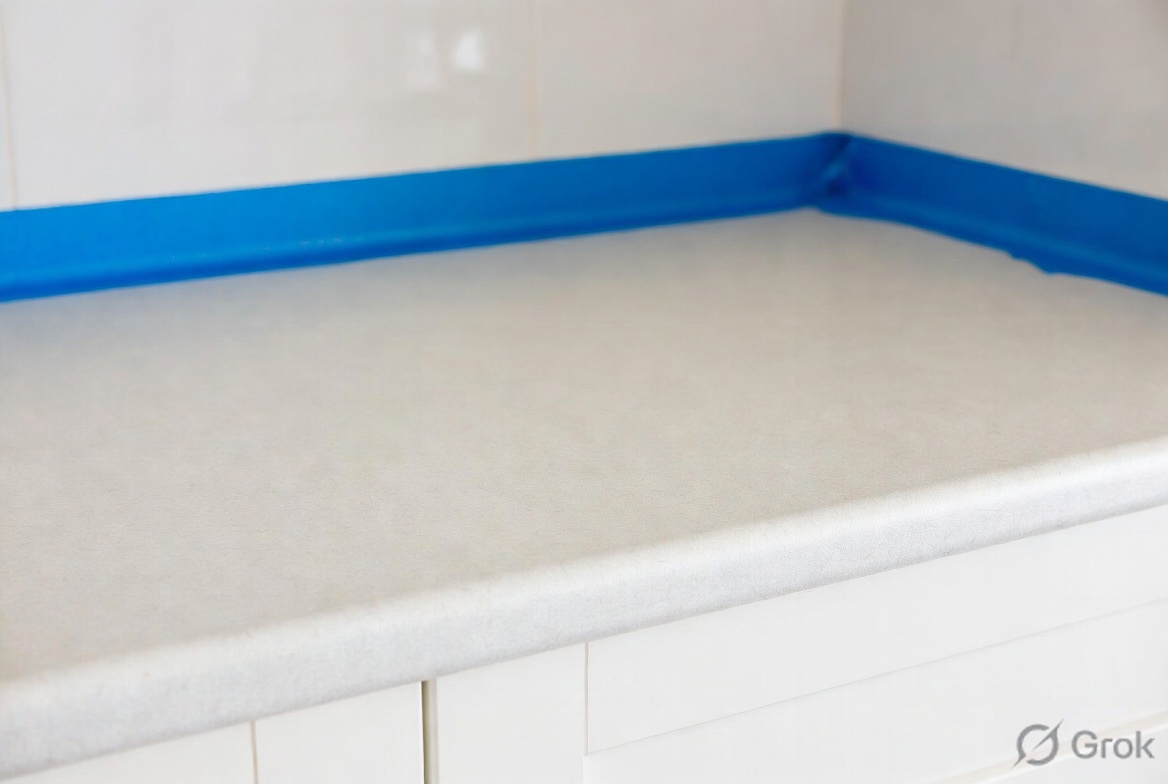
Mask everything

Splashbacks, cabinets, floors, hob and sink are masked hard. Epoxy finds every gap. This is the unglamorous hour that makes the pour look effortless.

Step 05

Seal, then flood

A thin seal coat first so the old laminate does not out-gas. Once it goes tacky we pour the self-levelling flood coat — typically 2–2.5 mm across the deck — and let it take the edge. A notched spreader seats the body; gravity and a guided wrap do the rest.

Step 06

Cure & hand over

Touch-dry in hours, light use the next day, full hardness over several days. We return to de-nib drips, optionally add a thin second top coat, and leave you a care note. The kitchen is never ripped out.

The edge is part of the pour

Rolled, square or breakfast-bar — we encapsulate the profile you have. Cutting a bullnose off is extra carpentry you usually do not need. Ask if you want a built-up square.

Two-stage pour

Seal coat first so the old laminate does not out-gas into the flood. Main coat once the seal is tacky. Optional second thin top coat for depth.

Kitchen stays usable

No demolition, no plumber, no splashback gambling. Light use the next day. Full hardness over several days.

Ready when the substrate is.

If the particleboard is swollen or the top has sagged, we will tell you. Epoxy is a surface, not a structural repair.

Book a measure